Git Installation Last updated: 18/03/2020
Welcome to the Git Installation tutorial. This page will guide you through installing Git SCM step by step.
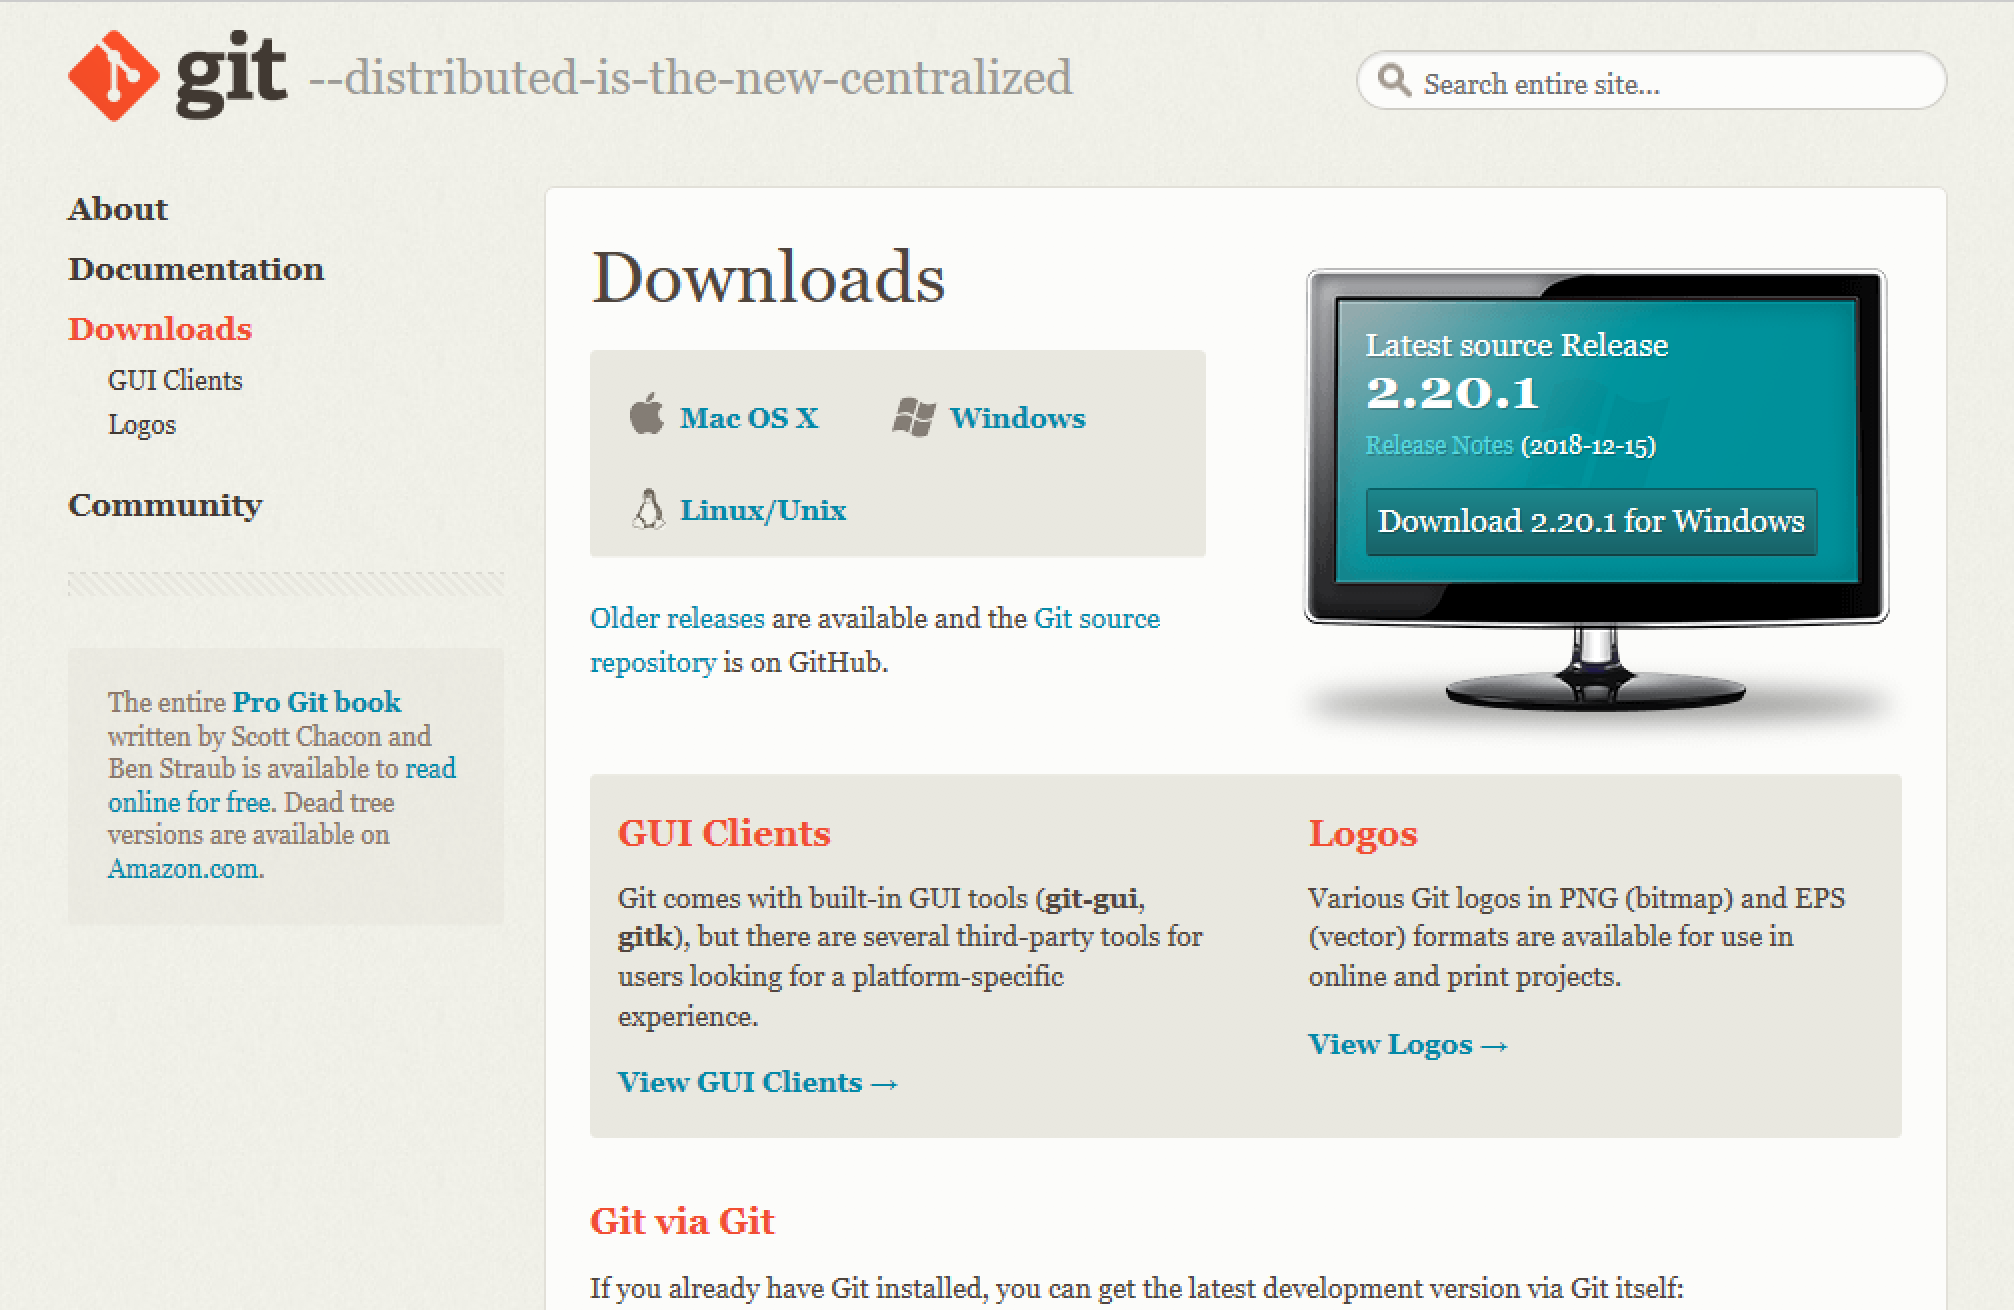
- Download the latest version:
- Run the setup:
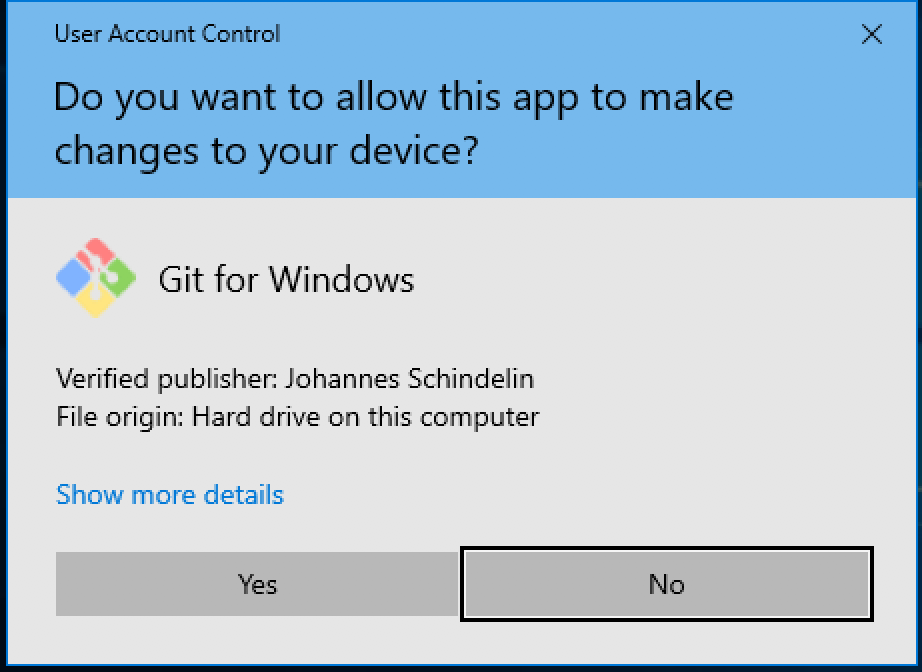
- Click Yes to continue:
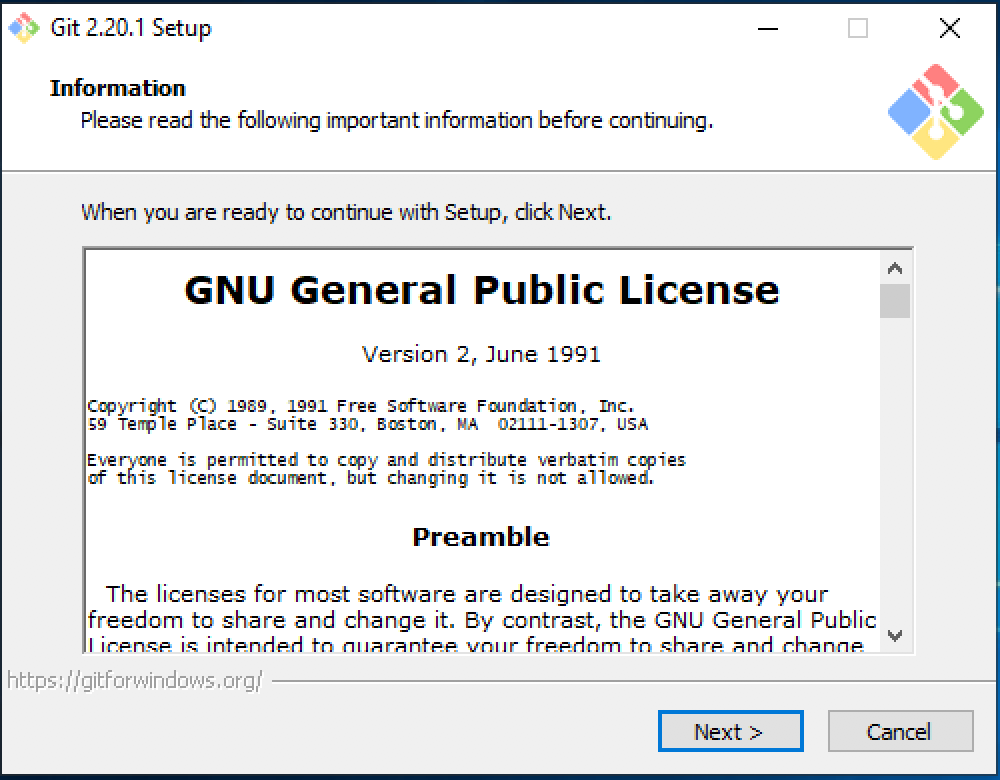
- Click Next to continue:
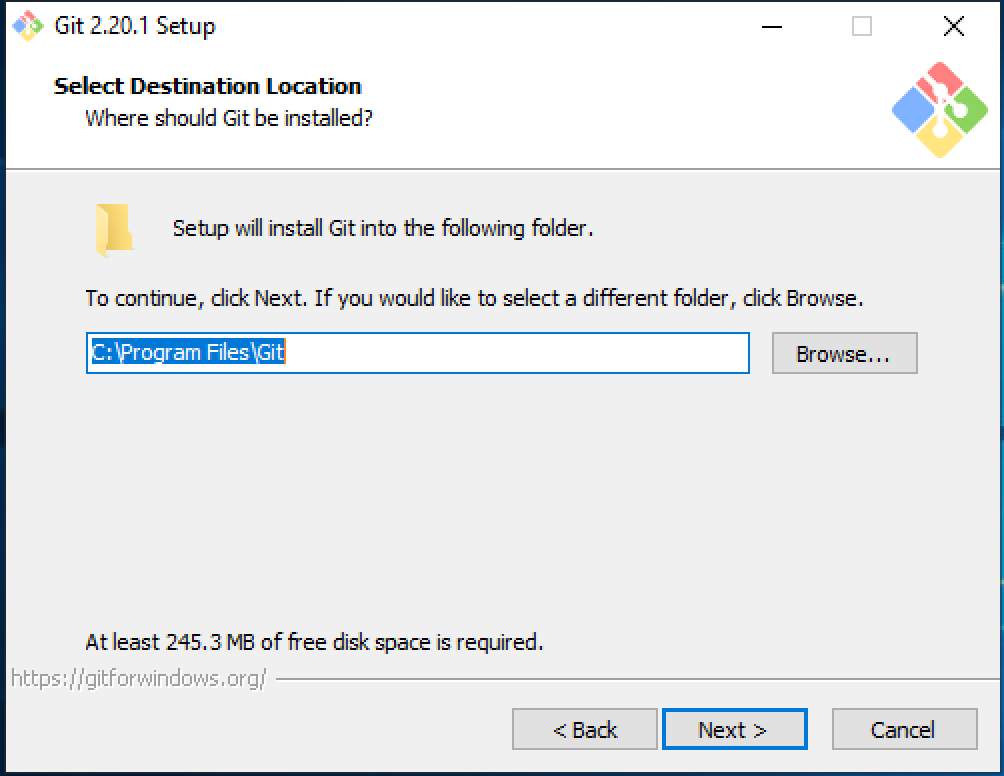
- If you need to change the installation folder, click Browse and select a new location. To accept the default location click on Next:
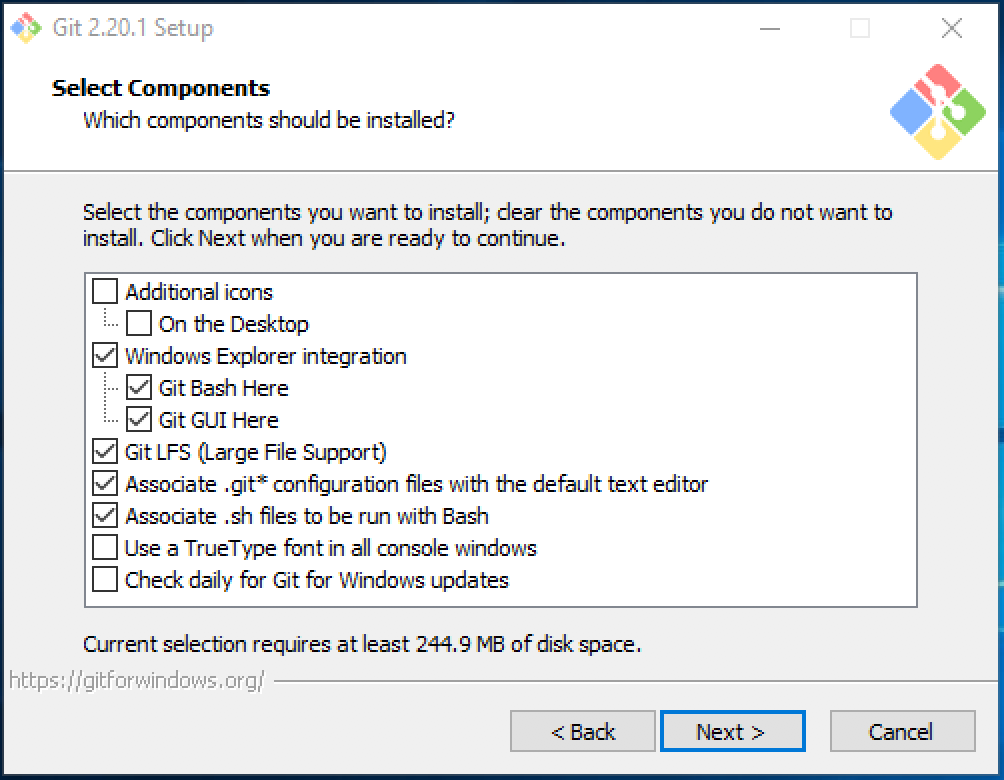
- To accept the default components to be installed click Next. Otherwise, select the additional components to be installed before clicking the Next button:
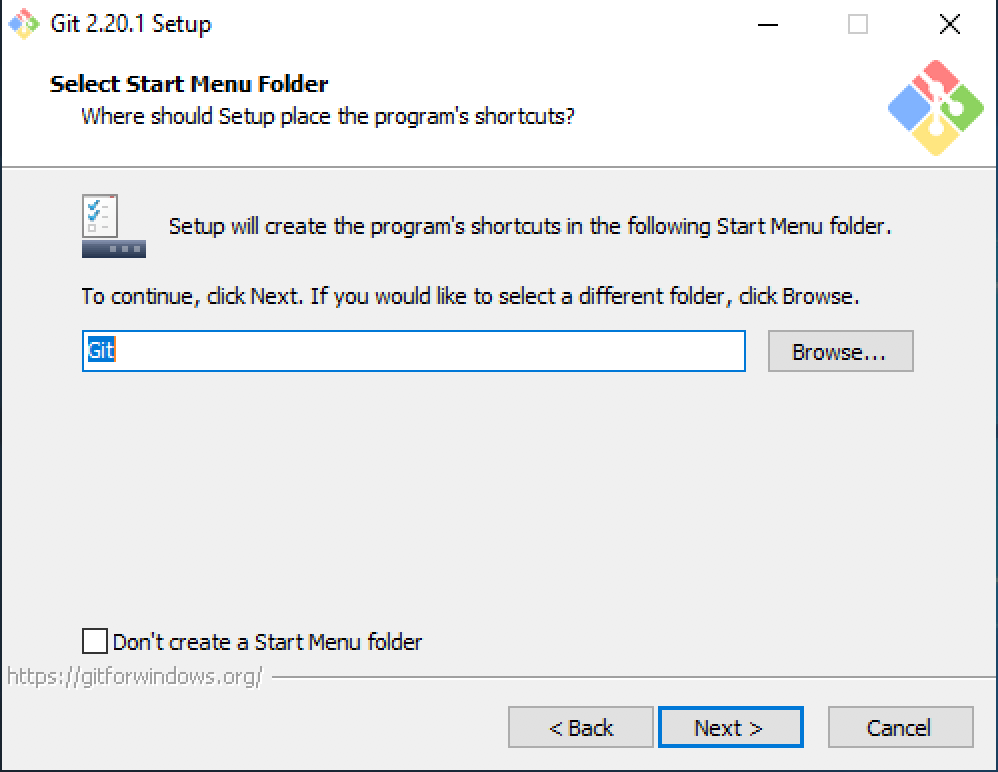
- Accept the default Start Menu folder by clicking Next, or use Browse to select a new folder location:
- Select the Nano text editor for Git, then click Next:
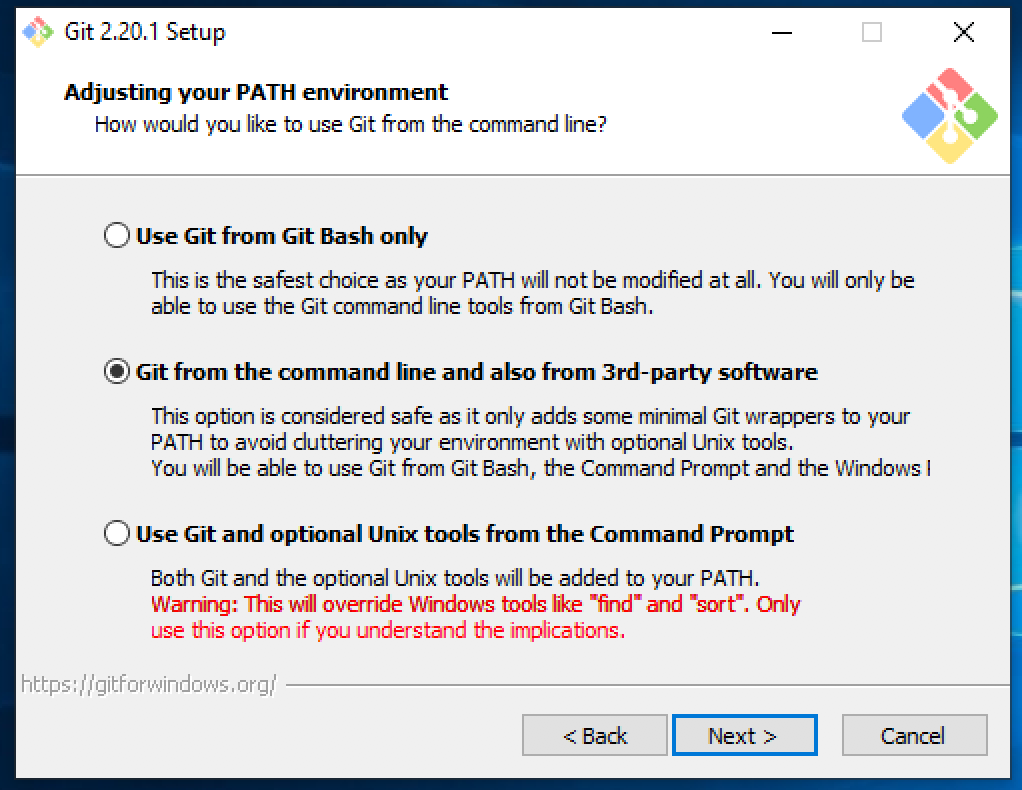
- Adjust your PATH environment, then click Next:
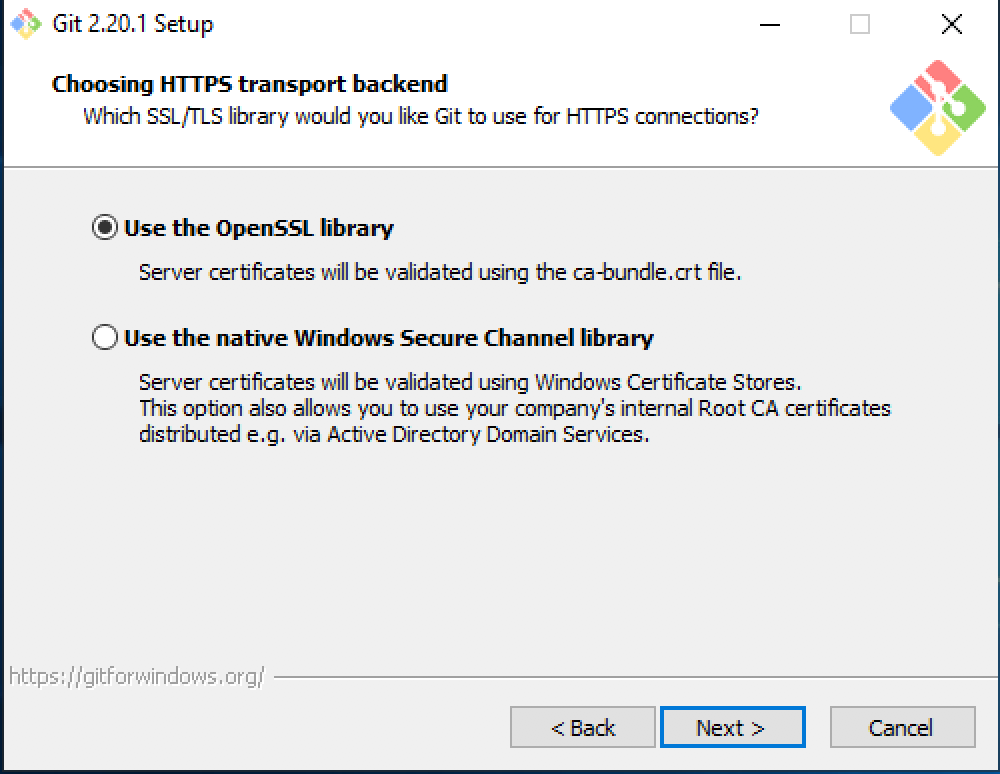
- Choose which SSL/TLS library you’ll use for HTTPS. Then, click Next:
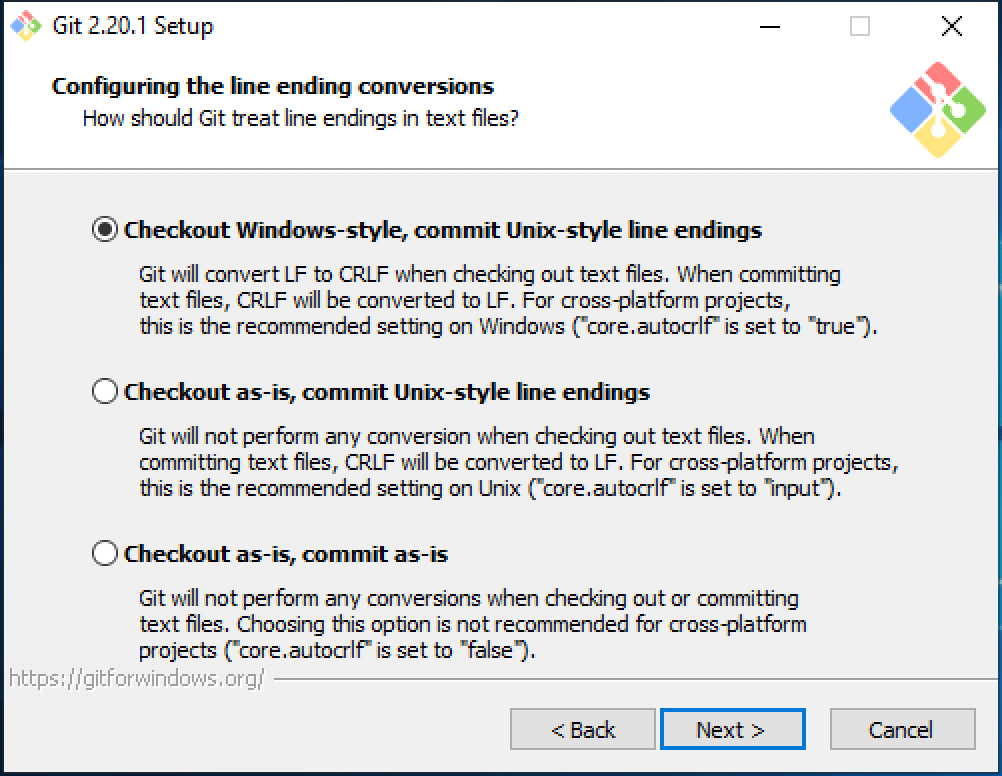
- Keep the default line ending conversion by clicking Next. To change the default, choose one of the two other choices before clicking Next:
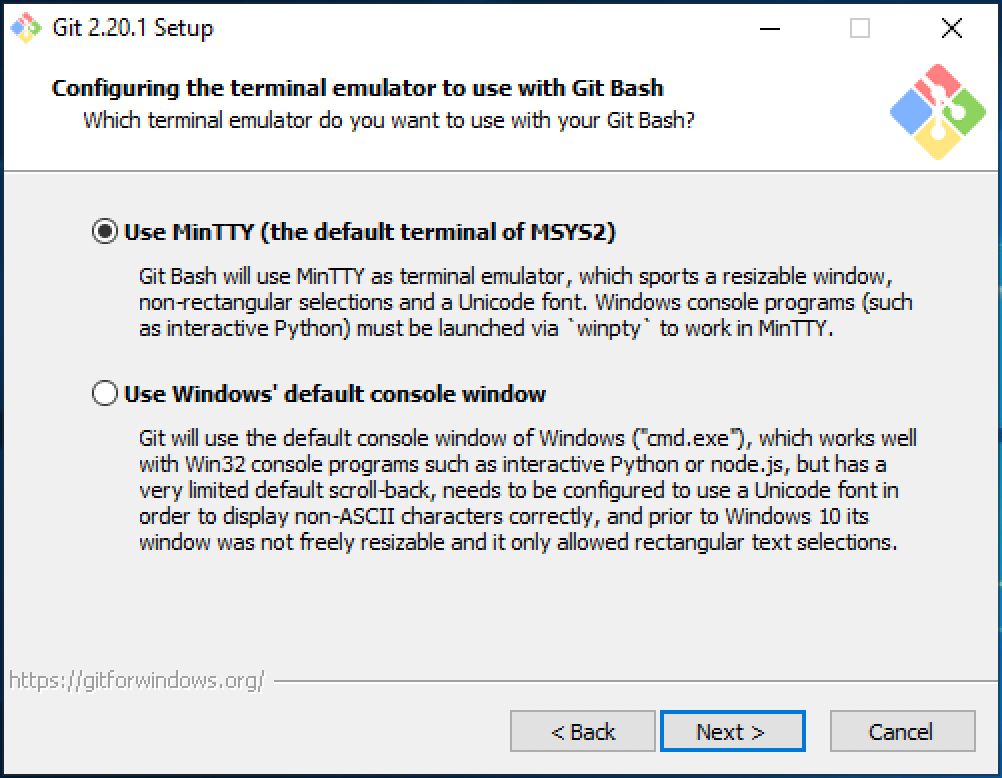
- Choose the terminal emulator you’ll use, and then click Next:
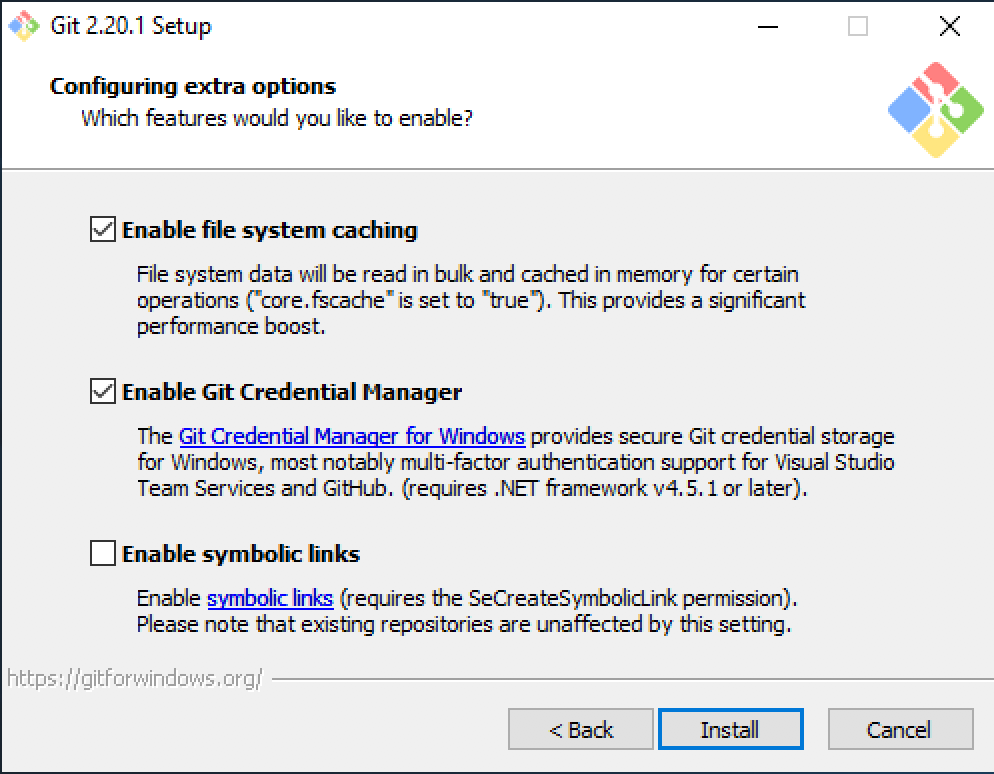
- Configure the extra options, and then click Next:
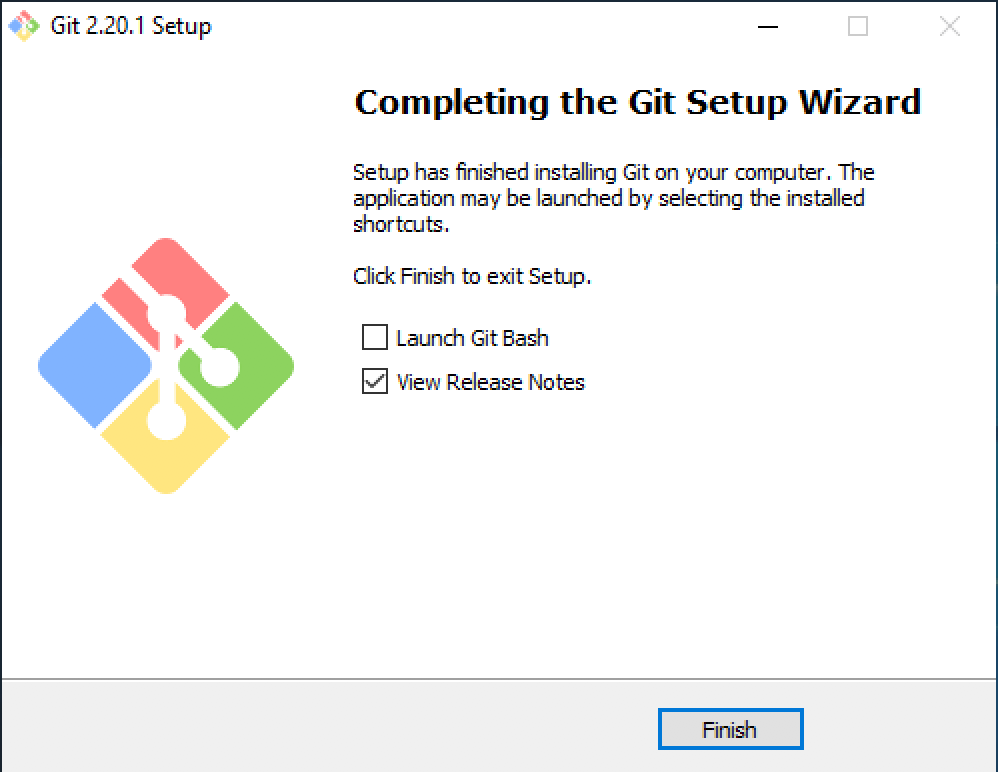
- Uncheck Launch Git Bash and complete the setup by selecting Finish: